We’ve been juggling multiple renovation projects lately, and while we’ve been hard at work, we haven’t had a chance to share our progress updates with you. Today, we’re excited to give you a glimpse of how Bedroom 4 is shaping up. While it’s not the final bedroom on our list (we still have Bedroom 2 to tackle), it’s the next milestone in our journey, and we can’t wait to show you the transformation it’s undergone.
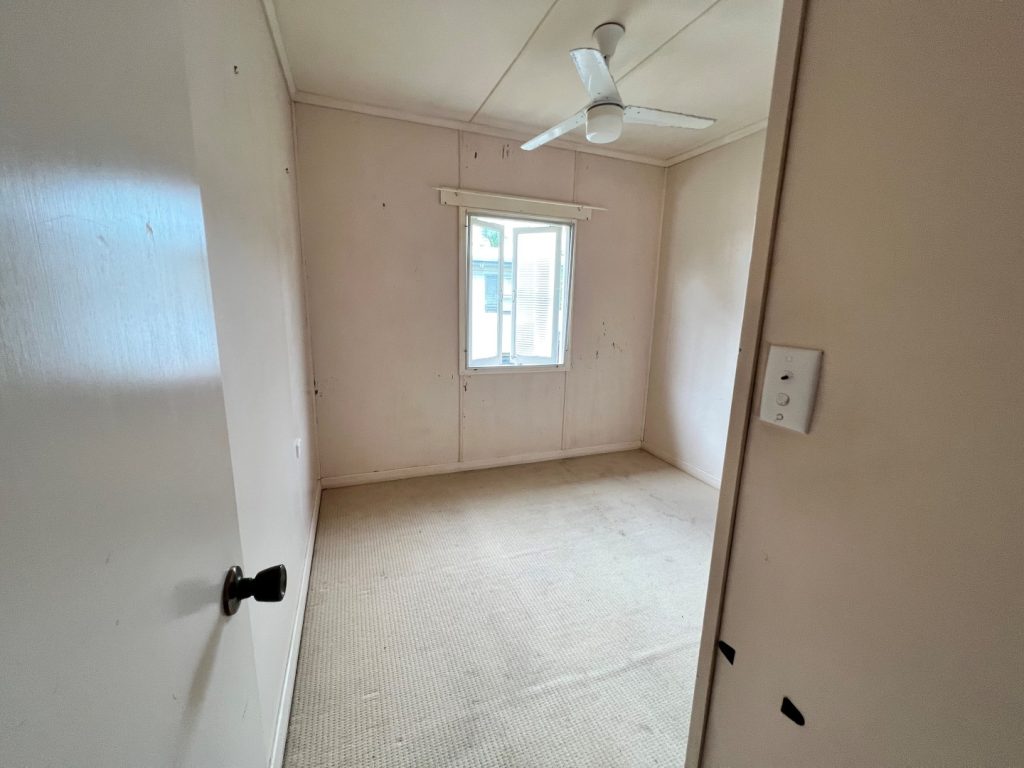
Before
You have to see the before photos of this one. It was a doozy!
- Carpets were dirty and moldy
- 1 wall textured and peeling
- The other walls were far from appealing
- The fan was rusty, and the light on the fan was outdated
- Window frames were cracked and peeling
- An old light switch completed the outdated look

During
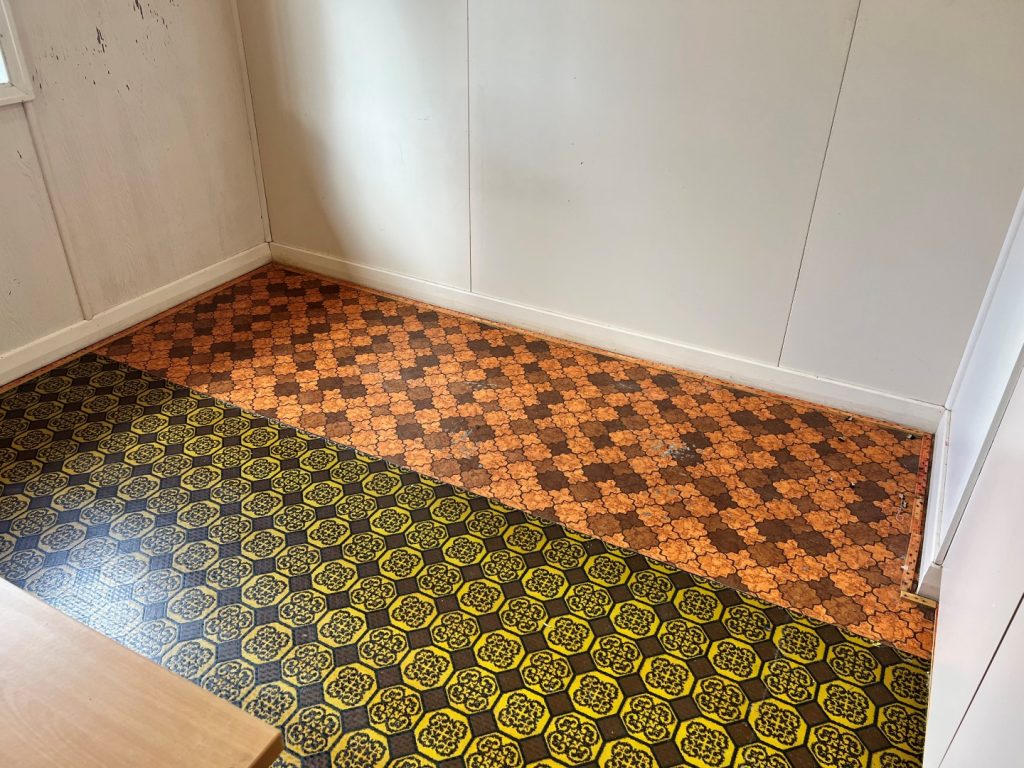
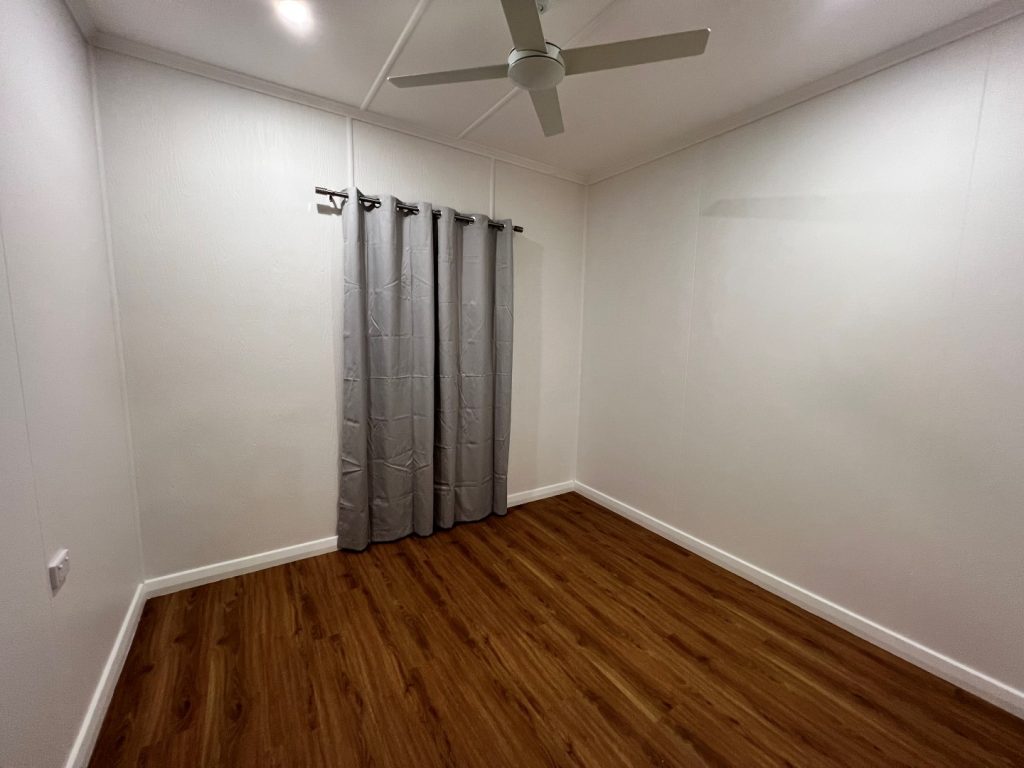
Our first task was to bid farewell to the hideous carpet. To our surprise, we found old linoleum underneath, making it a tough job. It’s a good size for an office, so we opted for durable vinyl planks instead which turned out to be a great choice for an office setting.
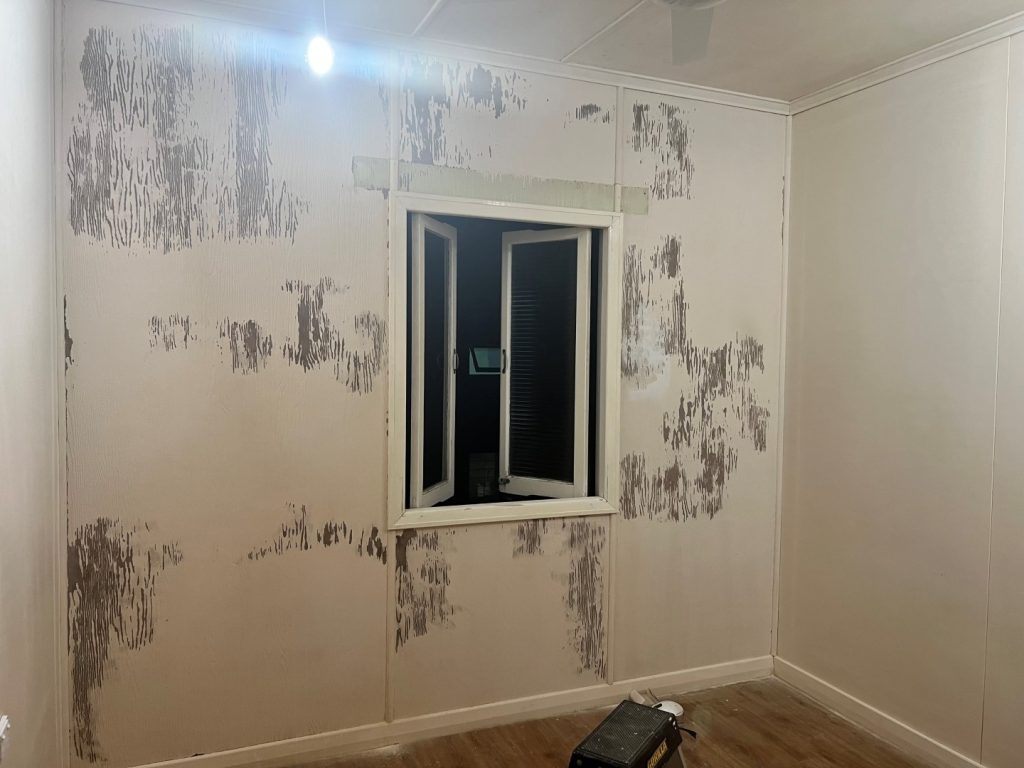
The textured wall presented its own set of challenges. Initially, we planned to sand off the flaky bits, but as we delved into the project, more imperfections emerged. We ended up applying two undercoats and two topcoats, resulting in a beautifully blended and renewed appearance.
Gap filling was a significant part of the process!


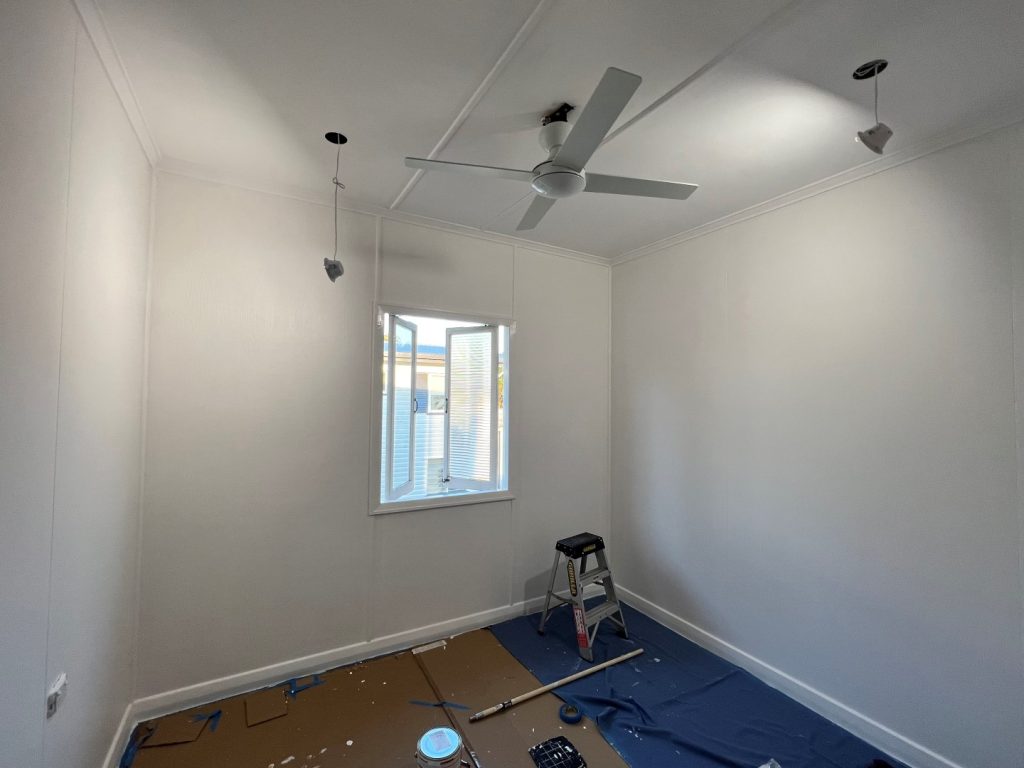
After
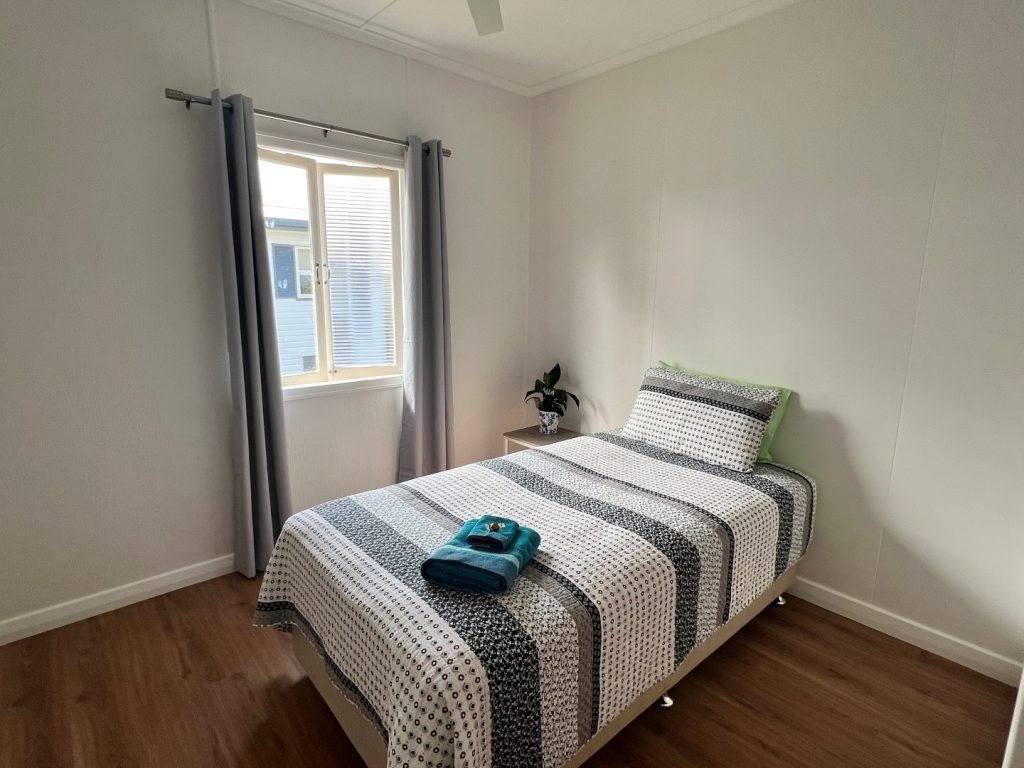
While we initially contemplated replacing the cupboard, we decided to keep it since it was still in good condition. Its darker hue gives it too much contrast to the light walls. So we plan to give it a makeover by painting it and replacing the handles. Here is what we have done so far
- New fan and downlights from Bunnings (installed by HVT Electrical)
- Walls painted in Casper Quarter White Satin
- Window trims and doors in Casper Quarter White Semi-Gloss
- Ceiling painted in ceiling white
- Vinyl purchased 2nd hand in perfect condition
- For a touch of elegance, we added Gummerson Caine Eyelet Curtains in Silver from Spotlight and curtain rods from Bunnings
- Stay tuned for the pink built-in cupboard’s transformation as we paint it and install new handles

One Reply to “BEDROOM 4 MAKEOVER: BEFORE, DURING, AND ALMOST AFTER”
Leave a Reply
Related Posts
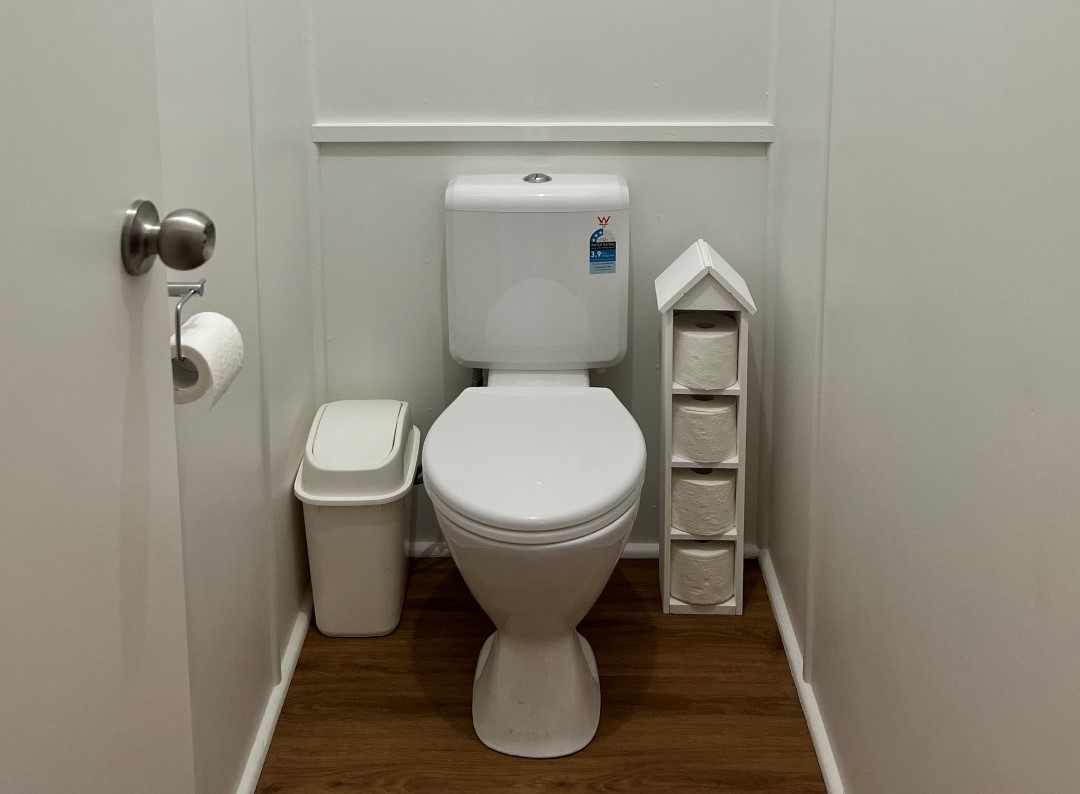
FLUSHED AND FABULOUS
We have not had a chance to take Milton and Betsy out lately as we've been busy with the house. We aren't very good nomads yet! But we have things we need to get done before the fun stuff. The first two bedrooms are still coming along, but I needed…

WEEK 2 – GLEN INNES GETAWAY: FRIENDS, SCONES, AND STANDING STONES
We stayed the weekend in Glen Innes with friends where we attended the Glen Innes show, played games and had a much-needed catch-up. This morning, we hit the road again, this will be the first week we’ve had where we won’t be visiting people, we’ll be on our own, so…

ROLLING WITH STARLINK: DIY CARAVAN MOUNT GUIDE
After noticing a significant number of people online enquiring about how to mount the Starlink dish on their motorhome or caravan, and inspired by the innovative ideas shared by others, I decided to create my own mount before embarking on our 2024 Gap Year adventure. It's important to note that…
Great job, as usual